


BIkeman - SNYPR Clutch Kit STG2 / General-900-1000S
07-334SKU: 07-334
- Fits RZR S 1000, RZR S/Trail/XP 900 2016+, General 1000 Models
- Designed stock or modified RZRs
- Simply a must-have for tuned RZRs
- Gain top speed over the stock clutching
- 2% more power to the ground on our wheel dyno with our Snypr weights vs Gold Star weights
- Springs hold much better tension on the belt than factory
- Quicker backshifting when off the throttle, Built in 50% EBS prevents secondary clutch belt slap
- More responsive feel with harder acceleration
- Less belt slip resulting in longer belt life
- Add a Cyclone Clutch Cover for a 40 degree drop in belt temps as well
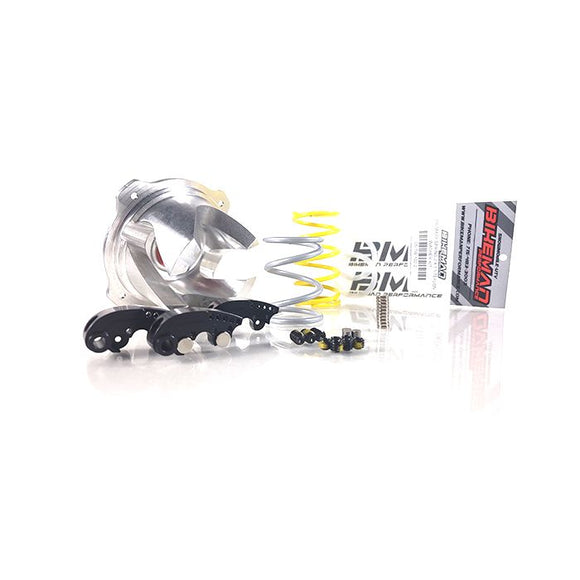
- Kit Includes: BMP SNYPR adjustable weights, BMP Helix, BMP primary spring, BMP secondary spring & a setup guideline
- View or download the weight setup sheet HERE
- Learn about Clutch weights HERE
- Learn about Primary springs HERE
- Learn about Secondary springs HERE
- Our sheave clamp tool will allow you to add or subtract weight near the tip for fine-tuning without removing the weights.
This is a must-have modification for your tuned RZR S 1000, RZR S/Trail/XP 900 16+ and General 1000s! Clutching is everything, especially when you add power to your machine. To properly transfer added horsepower you need to adjust your CVT clutch. Our custom weights were designed to help shift the clutch harder, resulting in more power to the rear wheels. These Goldstar magnetic adjustable weights have been a customer favorite as they are very easy to adjust and work so well. This Stage 2 also comes with our primary spring, secondary spring and custom cut helix which helps hold side tension on the belt for less slip and quicker backshifts. All around, this kit adds huge performance and will help the belt and clutch life of your machine. The kit comes with a full setup guideline that will let you know how to properly adjust the weights for your tire size and other modifications.
TERMINOLOGY
It is important to understand your Snypr weights and terminology. There are four quadrants within the Snypr weight. Each quadrant has a specific duty. The chart below shows each quadrant and shows how much effect each quadrant has as speed increases. At 0% shift your clutches are in the base position and the lowest gear. At 100%shift your clutches are fully shifted into the highest ratio, speed can increase above this point but only from rpm rising above the target peak hp.
Image A
The HEEL - The heel weight force is applied instantly once clutch weight overcomes the primary spring preload. It will gradually have less effect as you get closer to top speed.
The TIP - The tip weight force will gradually increase as speed is increased.
The SNYPR HEEL - The Snyper heel weight will have little to no force until mid way through the shift. After half shift the force will come on fairly quick but only be worth about half of the weight in the Snyper tip.
The SNYPR TIP - The Snyper tip weight will have little to no force until mid way through the shift. After half shift the force will come on fast and have a similar effect as weight in the tip.
HITTING YOUR TARGET RPM
Every engine has a peak horsepower and a peak torque. The graph below shows a hypothetical peak hp and peak torque. The goal of your clutching is to get to peak torque very quickly then have rpm rise to peak horsepower while loading the engine. This will achieve the quickest acceleration and the best feel. The RPM should stabilize at your peak horsepower rpm.
Image B
Green line = Ideal Shift - The Ideal shift will get to peak torque RPM very quickly then rise to peak horsepower RPM while loading the engine taking advantage of the torque while rising to peak power. Peak horsepower RPM should be hit by 30-40% through the shift. If your machine shifts like this you are set up perfectly.
Red line = Over Target RPM - Being over target RPM might feel real responsive but will likely be much slower than an ideal shift. Over RPM is also harder on your engine. To bring your RPM down to the peak hp add weight centrally located between the heel and the tip.
Yellow line = Under Target RPM - Being under target RPM can feel lazy and unresponsive and will likely be much slower. Under target RPM can also increase fuel efficiency and in some cases create less wear on engine components. To raise the RPM evenly across the shift remove some weight centrally located between the heel and the tip.
TAKE OFF FROM STOP
The most belt slip and wear often occurs during the take off otherwise known as holeshot in the racing world. The take off is the first 30-40% of the shift. In varying terrain conditions the load on the belt during the section will drastically change due to resistance. Larger tires can also have a big impact on the take off load. The chart below shows different scenarios.Description of the scenarios and how to adjust your weights is below the chart.
Image C
Green line = Ideal - No changes needed
Red Line = Overshoot - This condition needs to be addressed. Overshoot is caused by slippage or undershift during the first engagement of the clutch. This is easy to fix when using Snypr weights because they typically have extra weight in the heel section compared to non-Snypr weights and more mass potential. To fix this condition, add weight to the heel quadrant until it reacts like the green line.
Yellow line = Undershoot - This condition will feel lazy and lack responsiveness and is easy to fix when using the Snypr weights. An undershoot can also increase knock from RPM rising too slowly. To fix this condition, move some weight lower from the heel and tip into Snypr heel and tip evenly.
RPM CREEP OR RPM DROP
RPM should remain fairly constant on 4 stroke applications and slight creep/rise is okay on 2 strokes since the pipe is heating up and the RPM sweet spot moves slightly. Below is a chart showing RPM creep and RPM drop. Below the chart is a description of what changes to make to control each situation.
Image D
Green line = Steady - No changes needed this is ideal.
Red line = RPM Creep - On a 2 stroke this is okay but usually not more than 100-200 RPM over peak horsepower. On a 4 stroke you want RPM to be steady. I you have too much RPM creep you can tame it down by adding weight to Snypr tip or adding tip weight. NOTE: Once clutches are fully shifted out the RPM will always rise 1 to 1 with MPH no matter what you do to your clutch weights. Make sure you are not trying to adjust your weights to adjust past full shift out.
Yellow line = RPM Drop - RPM Drop usually makes the vehicle respond but then fade off towards top MPH. It can also increase engine knock due to pulling the motor down in RPM. It is an easy fix, just remove some weight from the Snypr locations and if needed add a little to the heel and midway to the tip.
CB 1/13/25